
From Vision to Vinyl
Welcome to our ‘How It’s Done’ guide where we take your school’s vision and turn it into safer, more colourful, privacy focused window graphics that replace blinds and lift the entire environment.
We’ve Streamlined the Process to Make It Easy
-

Step 1 - Get in touch
Let us know what you’d like to improve - safeguarding, upgrading blinds, or refreshing the look of your school.
We’ll talk through ideas, budgets, themes, and which type of window graphic suits your space (one-way vision for privacy, full colour, frosted, curriculum themes, etc.).
-

Step 2 — Send us Photos
To get started, simply send a few clear photos of the window areas you’d like us to transform.
We’ll use these to create your complimentary initial design.
-

Step 3 — Design & Quote
Once the initial design is approved, we’ll arrange a site visit to carry out a full survey and take precise measurements.
During this visit, we assess safeguarding requirements, sight lines, access, and installation logistics.
We then refine the final design to scale and provide a detailed quotation for the complete installation.
-

Step 4 — Deposit & Final Measurements
Once the final design and quotation are formally approved, a 40% deposit is required to secure your project and reserve an installation slot.
Upon receipt of the deposit, we prepare the artwork for production, schedule printing, and coordinate installation dates around your school calendar to minimise disruption to teaching and learning.
-

Step 5 — Print & Install
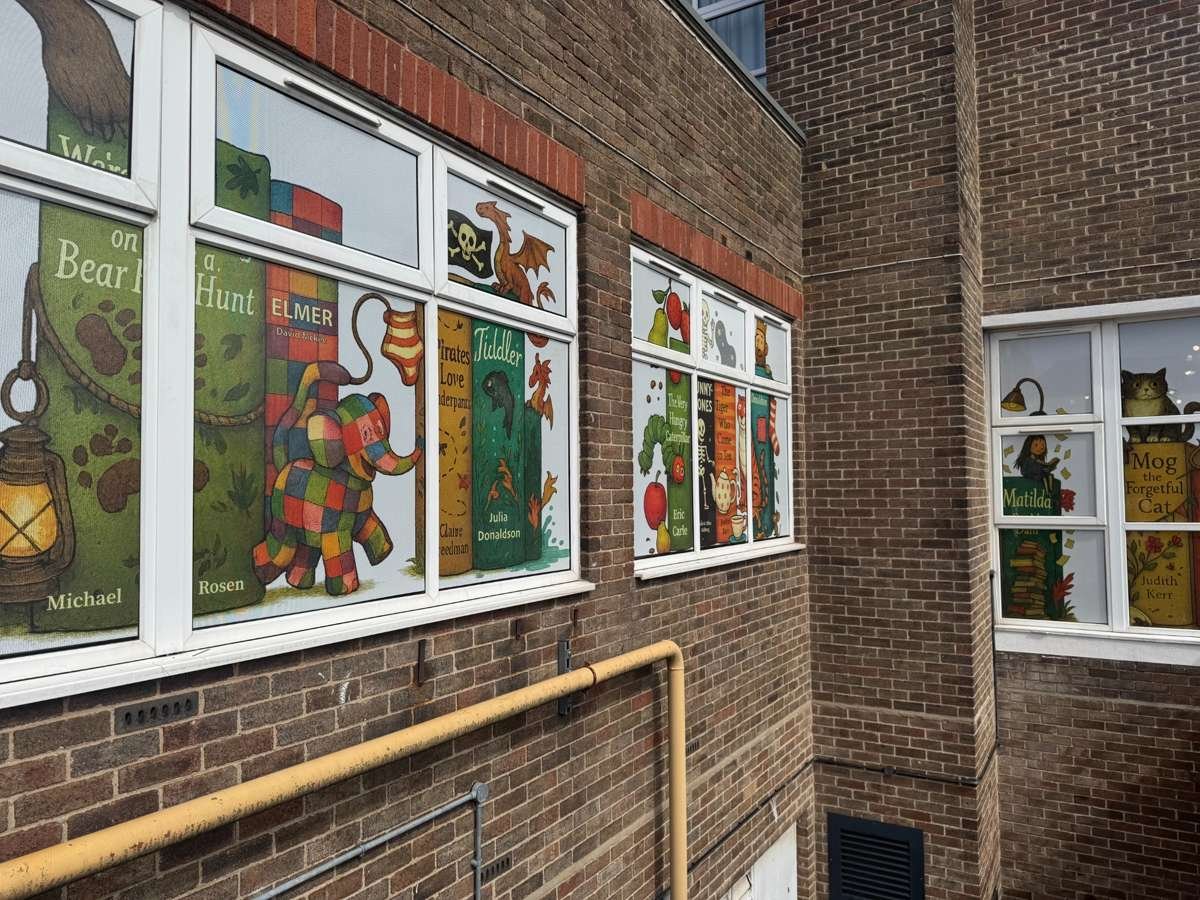
Your graphics are printed on premium one-way-vision vinyl, giving you privacy from the outside while keeping full visibility from the inside.
On installation day, we fit the graphics to the external side of the windows, cleanly and professionally, with minimal disruption to the school day.
Schools can keep or remove blinds at their discretion — the graphics work independent of them.
